How to Install & Configure DHCP on Windows Server 2022 - 25: Step-by-Step Guide
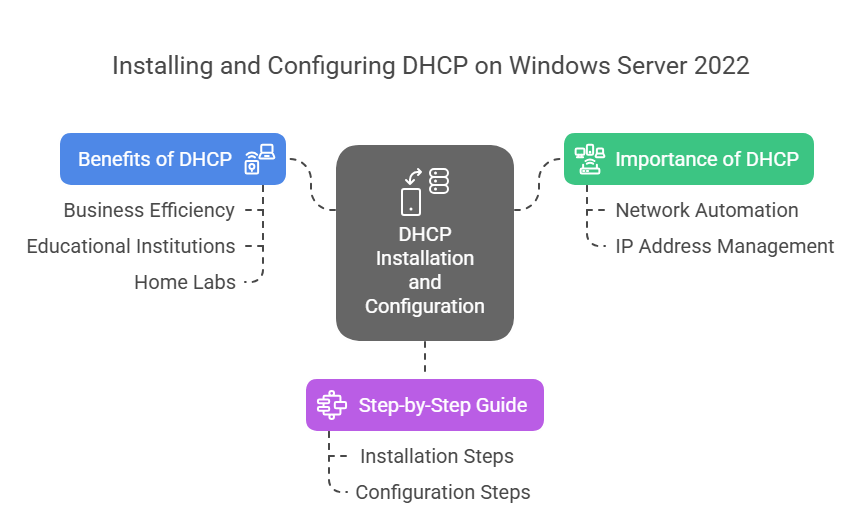
This document provides a comprehensive guide on how to install and configure the Dynamic Host Configuration Protocol (DHCP) on Windows Server 2022. DHCP is a crucial service that automates the assignment of IP addresses to devices on a network, which is particularly beneficial for businesses, educational institutions, and home labs. By following this step-by-step guide, you will be able to set up DHCP efficiently and ensure that your network operates smoothly.
Why Set Up DHCP?
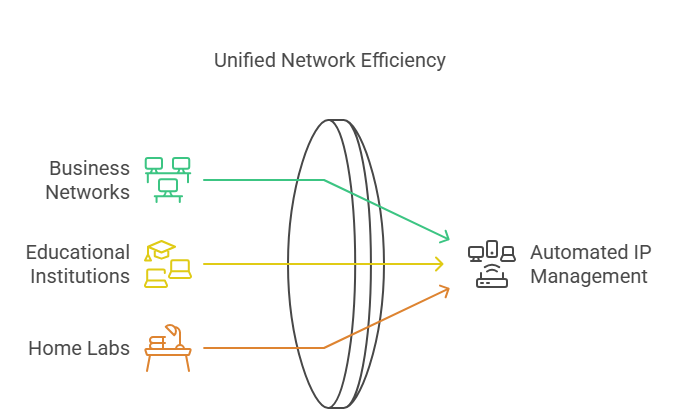
DHCP (Dynamic Host Configuration Protocol) automatically assigns IP addresses to devices on your network, saving you from manual configurations. Perfect for businesses, schools, or even home labs!
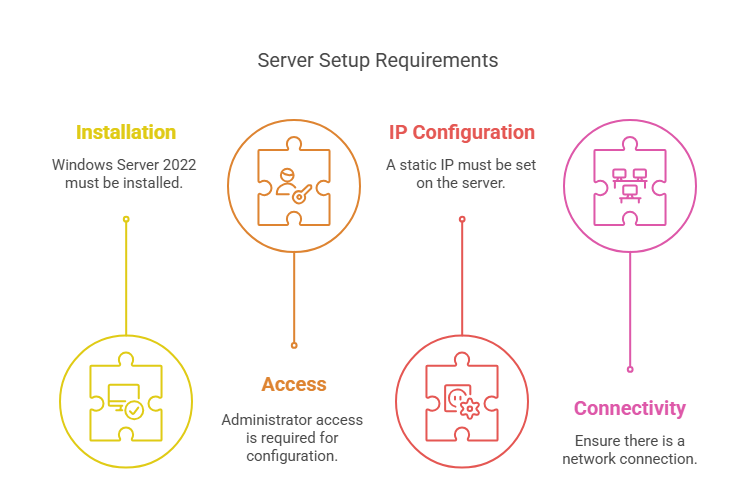
Pre-Requisites
✔ Windows Server 2022 installed
✔ Administrator access
✔ Static IP set on your server
✔ Network connection
Step-by-Step Installation
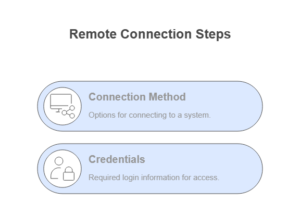
1. Log In to Your Server
Connect via RDP or locally
Use administrator credentials
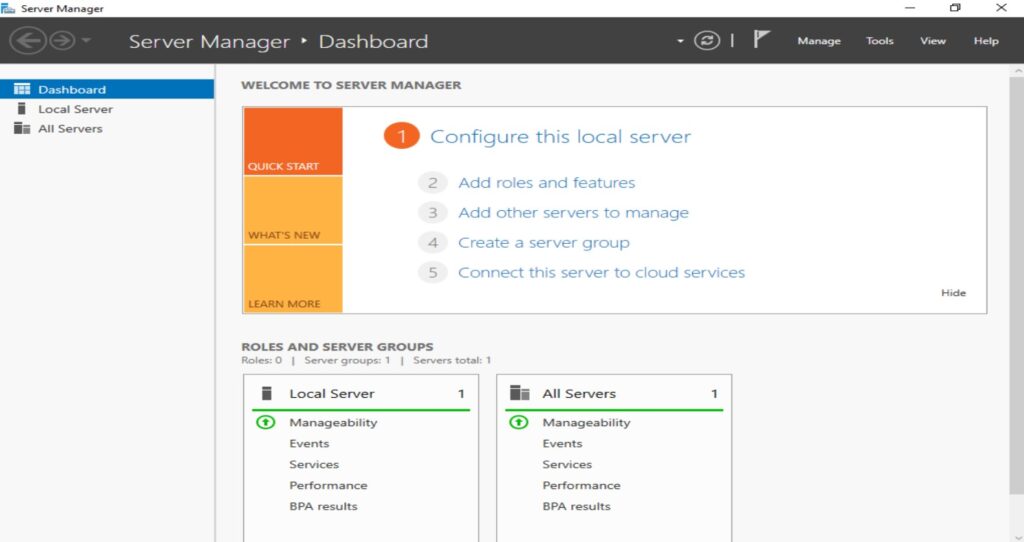
2. Open Server Manager
Click the Windows icon
Select Server Manager
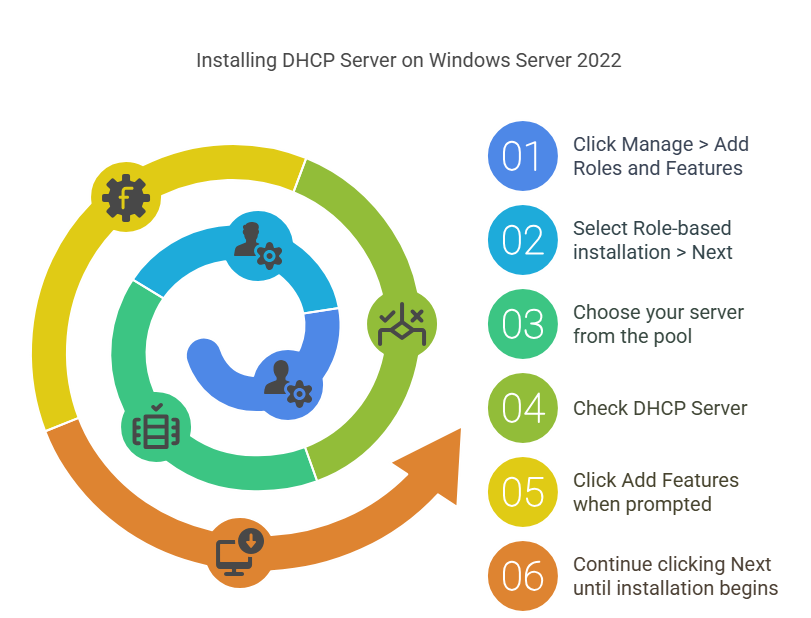
3. Add DHCP Server Role
Click Manage > Add Roles and Features
Select Role-based installation > Next
Choose your server from the pool
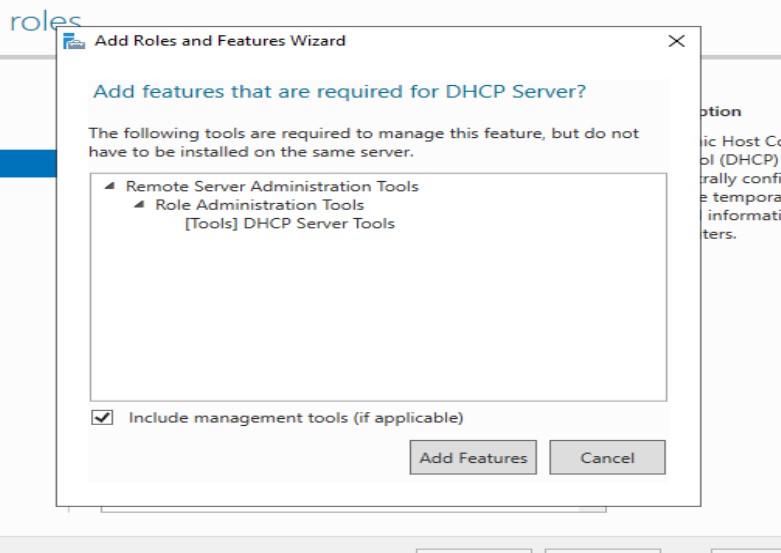
Check DHCP Server
Click Add Features when prompted
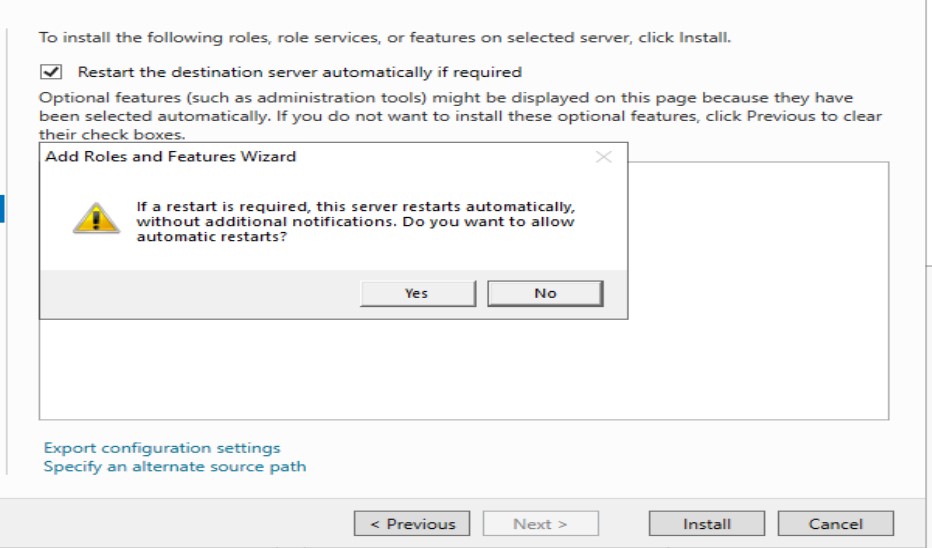
Continue clicking Next until installation begins
Wait for completion (~2-5 minutes)
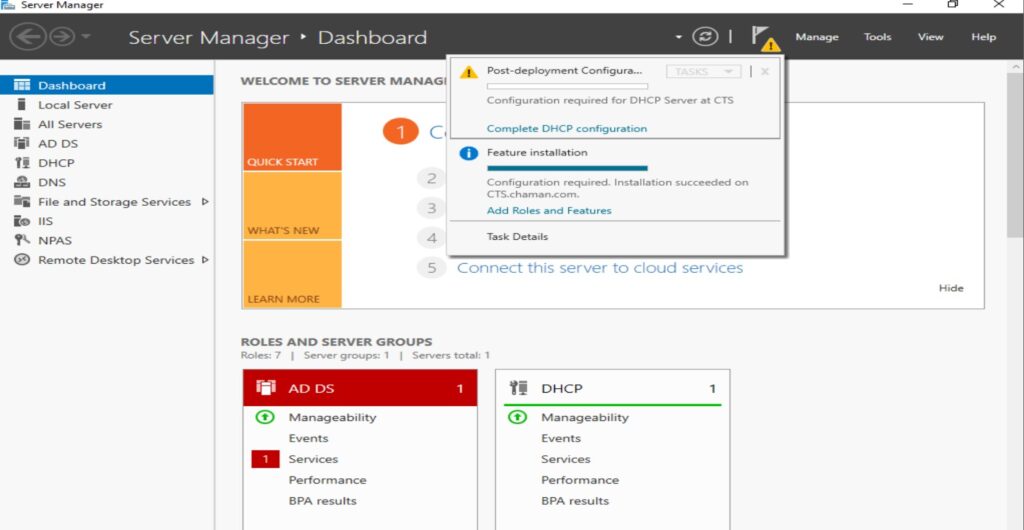
4. Complete DHCP Configuration
Click the yellow warning flag in Server Manager
Select Complete DHCP configuration
Choose Commit for authorization
Click Close
Setting Up Your DHCP Scope
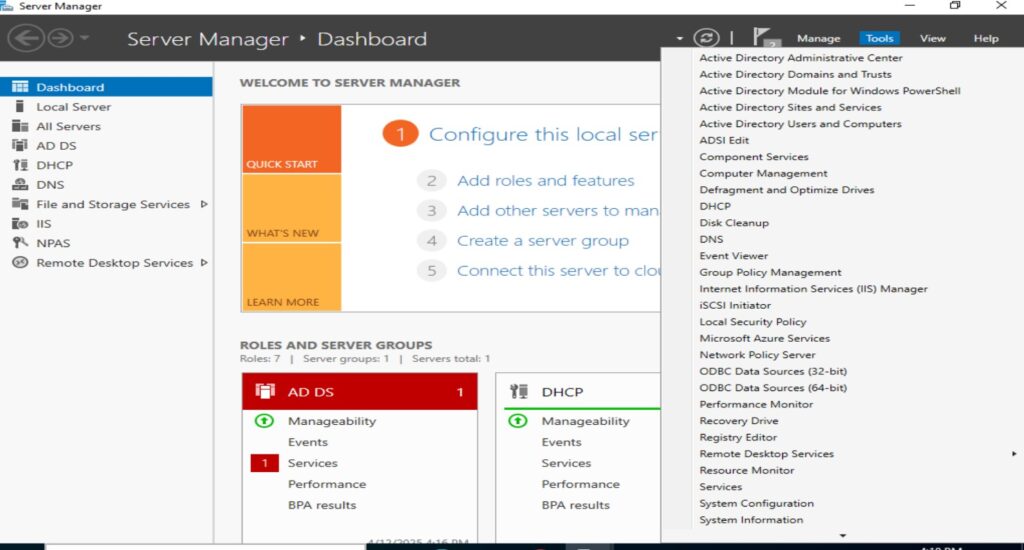
5. Open DHCP Manager
In Server Manager, click Tools > DHCP
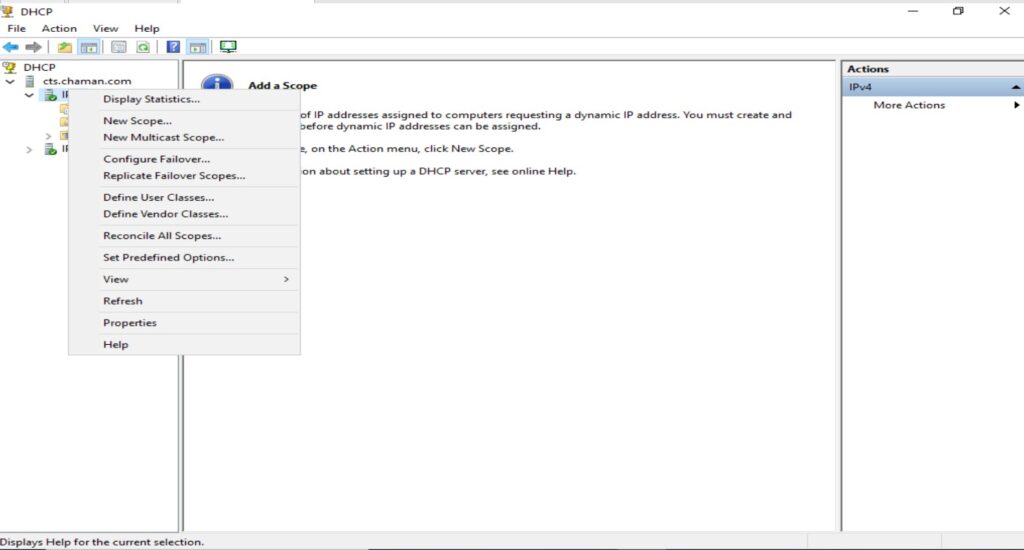
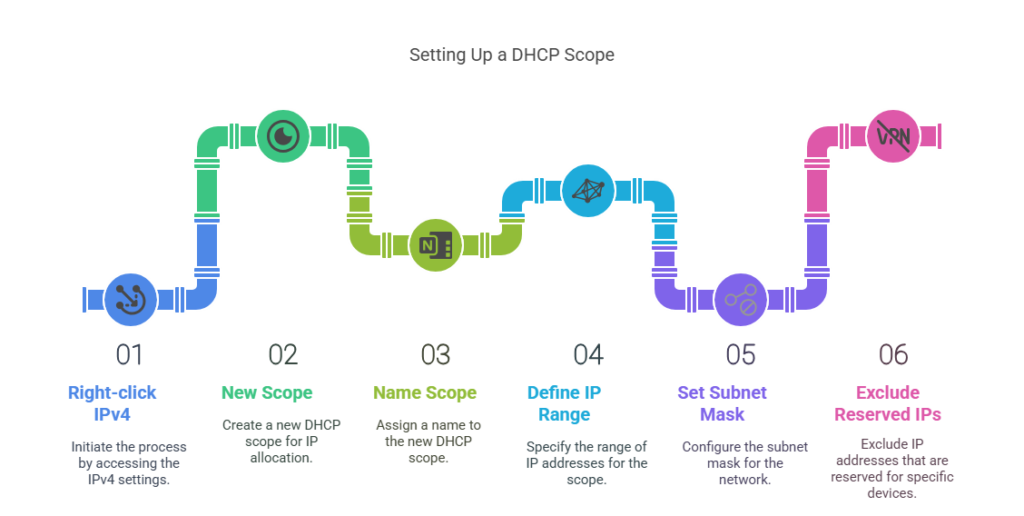
6. Create New Scope
Right-click IPv4 > New Scope
Name it (e.g., “Office Network”)
Define IP range (e.g., 192.168.1.100 – 192.168.1.200)
Set subnet mask (usually 255.255.255.0)
Exclude any reserved IPs (printers, servers, etc.)
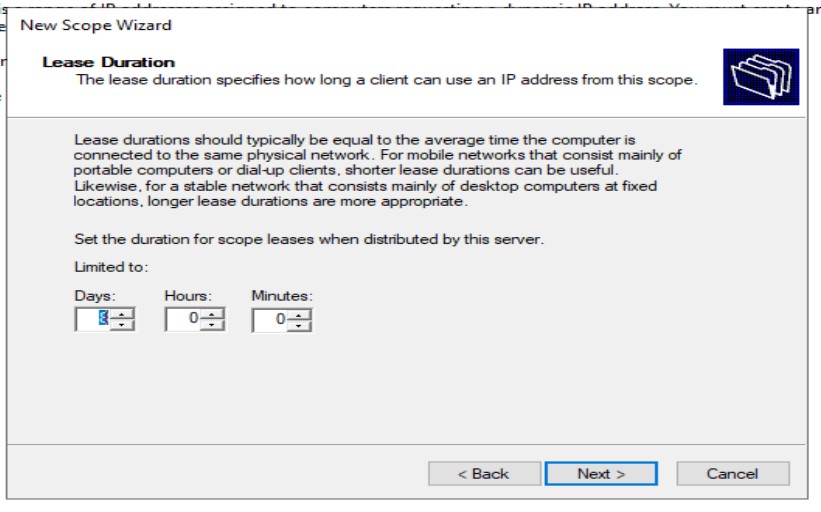
7. Configure Lease Duration
Default is 8 days (good for most offices)
Shorter leases (1 day) for guest networks
8. Set Router (Default Gateway)
Typically your router/firewall IP
Example: 192.168.1.1
9. Add DNS Servers
Enter your organization’s DNS (e.g., 8.8.8.8 for Google DNS)
10. Activate Scope
Select Yes, activate now
Click Finish
Verifying DHCP Works
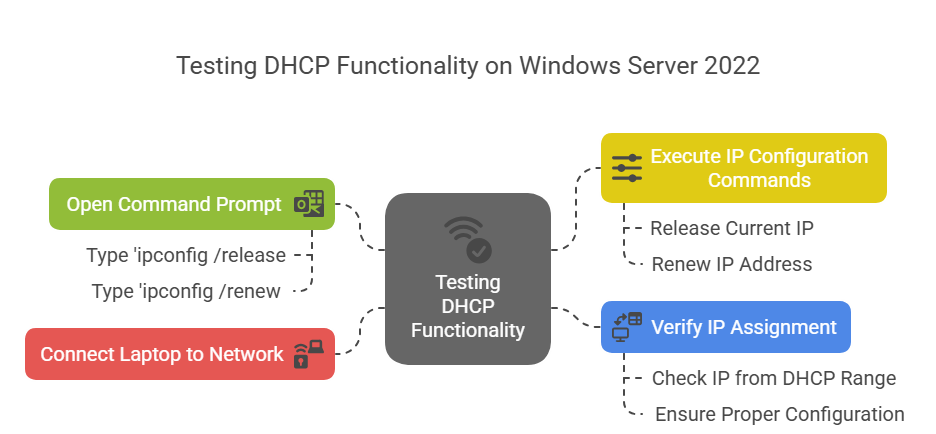
11. Test from a Client Device
Connect a laptop to the network
Open Command Prompt
Type:
ipconfig /release
ipconfig /renewCheck if it receives an IP from your range
Advanced Tips
🔹 Reservations: Assign fixed IPs to specific devices
🔹 Backup DHCP: Export/import configurations
🔹 Monitor Leases: Track connected devices
Troubleshooting
❌ Clients not getting IPs?
Check firewall rules (allow UDP ports 67/68)
Verify scope is activated
❌ Duplicate IPs?
Reduce lease time
Check for rogue DHCP servers
Final Thoughts
Setting up DHCP takes under 15 minutes but saves hours of network management. Whether you’re running a business network or homelab, automatic IP assignments are a game-changer!